
KotiViihde-elektroniikkaUrheilu- ja toimintavideokameratOutdoor Pyöräily Urheilukamera Konferenssitallennin Tallennin Kannettava Taskukamera HD-videotallennus Pieni Dv Urheilukamera
Samanlaisia kohteita
Sponsoroitu
Outdoor Pyöräily Urheilukamera Konferenssitallennin Tallennin Kannettava Taskukamera HD-videotallennus Pieni Dv Urheilukamera
€29.96€36.13
€250 VINOSSA Tilauksille €2,500
€200 VINOSSA Tilauksille €1,999
€130 VINOSSA Tilauksille €1,299
€90 VINOSSA Tilauksille €889
väri : musta
Määrä :
Osta nyt
Lisää ostoskoriin

Raportoi
Sisällytä tekijänoikeusrikkomusIlmainen vakiotoimitus. Katso yksityiskohdat
Arvioitu välillä Fri, May 16 ja Sun, May 25
Voit palauttaa tuotteen 30 päivän kuluessa vastaanottamisesta. Katso yksityiskohdat


Osta luottavaisin mielin

Rahat takaisin -takuu
Saat tilaamasi tuotteen tai rahasi takaisin. Lue lisää
Lisätietoja


Product parameters:
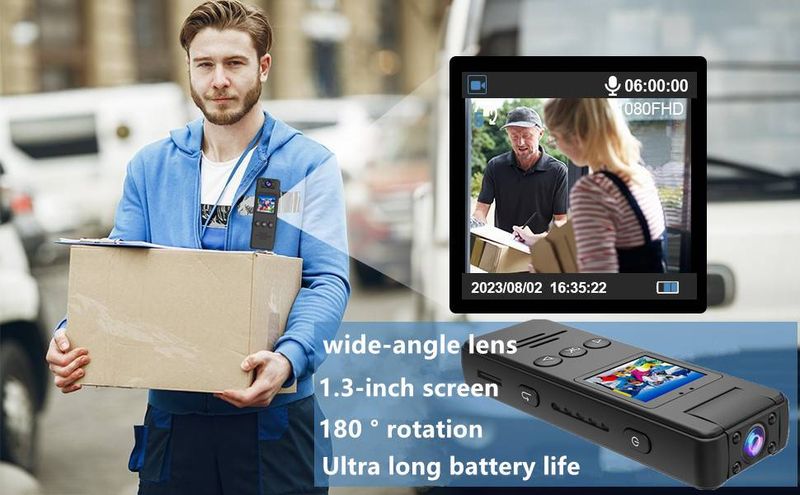
Lens: Rotable lens 180 degrees
Select language: Chinese/English/Traditional Chinese/Japanese/Korean/etc
Video resolution: 1920*1080P
Video frame rate: 30fps
Video recording format: AVI
Video compression format: MJPEG
Video bit rate: 9 M bit/S
Charging voltage: DC-5V
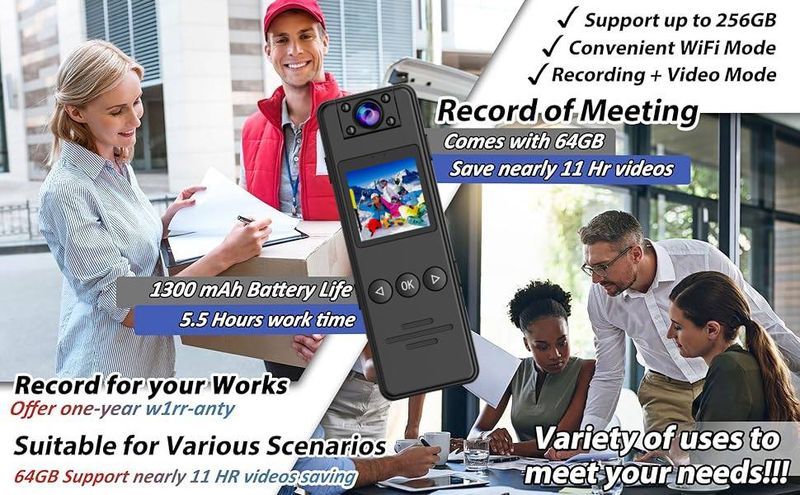
Battery type: Built-in high-capacity polymer lithium battery
Battery capacity: 1500 mAh
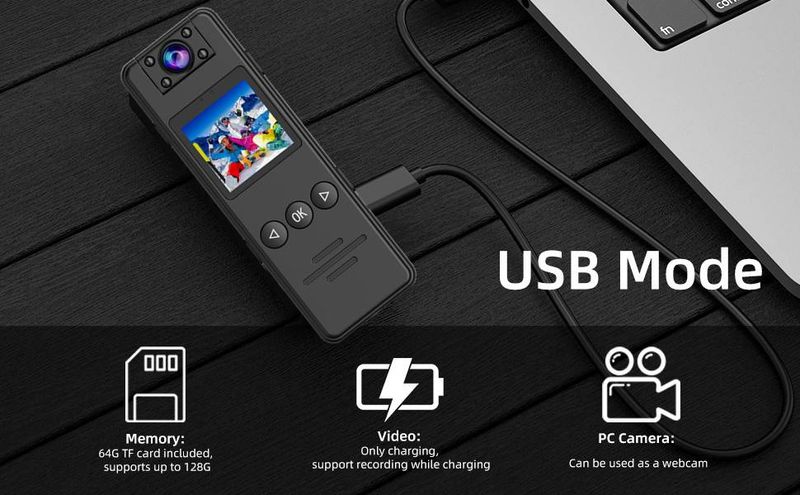
Interface type: Type-C
Storage temperature: -40~+60℃
Working ambient temperature: -10~+45℃
Playing software: System-owned or mainstream audio and video playback software
System: WIN 10 and WIN 11/XOS, ios
Power on: Press and hold the power button for 2 seconds to turn on the machine, and the work indicator light will be red.
Shutdown: Press and hold the power button for 2 seconds before the machine shuts down and the indicator light goes out.
Standby: In the power on state, if no operation is performed, the machine will not automatically shut down by default. You can go to the menu page to set it (5-minute automatic shutdown) (10 minute automatic shutdown), select the time, click confirm, and the setting is complete.
Recording: When the machine is turned on, press the [Recording] button on the preview screen to start recording. The working status indicator light will display red and flash, and there will be a red recording time displayed in the upper right corner of the screen during recording,. Press the 'Record' button again to stop recording, the work indicator light will become constantly on, the video file will be automatically saved to the TF storage card, the screen will automatically return to the camera preview screen, and the recording will be named with the date and time, with AVI as the suffix, and saved to the memory card. Please refer to the "Viewing/Playback Audio and Video" section for video viewing.
Taking a photo: Press the 'Record, Take Photo' button once to switch to the photo screen, then press it once to take a photo and automatically save it. During the photo taking process, there will be a sound of 'click'. Each time you press the button, take a photo named after the date and time, with a JPG suffix, and save it in a memory card. Please refer to the "Viewing/Playback Audio and Video" section for photo viewing.
Recording: Long press the [Record, Take Photo] button for 2 seconds to switch to individual recording. At this time, the display screen shows the recording label, and the work indicator light flashes blue. Press the [Record, Take Photo] button again to stop individual recording. The audio file is automatically saved to the TF storage card, and the screen automatically returns to the preview screen.
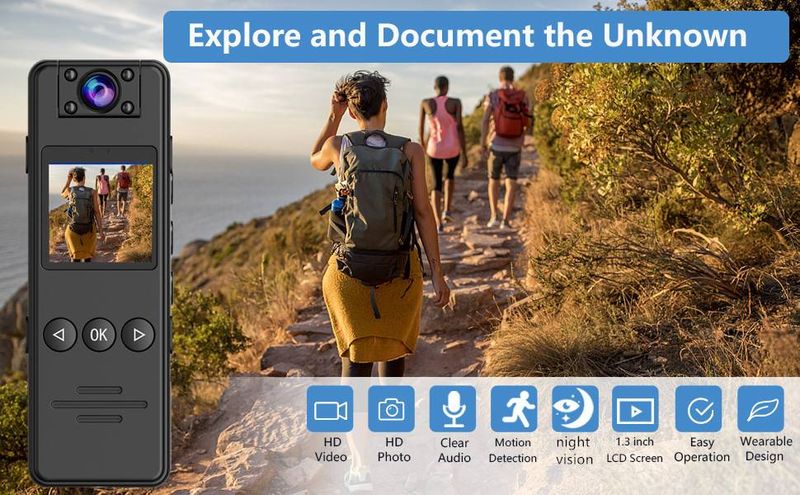
Automatic infrared night vision: When the camera detects insufficient light during video recording, it will automatically turn on the night vision function, and the image will appear in black and white. When the camera detects a well lit environment again, it will automatically turn off the night vision again, and the image will return to color.
Menu settings: Short press the [OK] key to enter the "Menu" settings interface. After entering the menu interface, click the [Up] or [Down] key to select the desired item to be set. Press the [OK] key to confirm the option. Use the [Up] or [Down] key to change the option. After setting is complete, click the [OK] key again to confirm, and the device will automatically save the settings changes.
·Video resolution: Press the [Menu Confirm] button to enter the state to be modified, press the [Up] or [Down] button to select, there are two options: HD and FHD (parameters may vary slightly depending on the version, subject to actual conditions). After selecting the desired resolution, press the [Menu Confirm] button to confirm.
·Photo quality: Press the 'Menu Confirmation' button to enter the state to be modified, press the 'Up' or 'Down' button to select, with options including 5M, 8M, 10M, 12M, 16M, 18M, 20M, 24M, 40M, 48M. After selecting, press the 'Menu Confirmation' button to confirm.
·Continuous photo shooting: Press the 'Menu Confirm' button to enter the state to be modified, press the 'Up' or 'Down' button to select, options include: Off, 3, 5. After selecting, press the 'Menu Confirm' button to confirm.
·Loop recording: When enabled, it will automatically overwrite old recording files when there is insufficient memory. Click the 'Menu Confirmation' button to enter the state to be modified, with options for on and off. After selecting, click the 'Menu Confirm' button to confirm.
·Silent recording: Press the [Menu Confirm] button to enter the state to be modified, press the [Up] or [Down] button to select, and there are two options: on and off. After selecting, press the [Menu Confirm] button to confirm.
·Secret filming mode: When turned on, there is no sound prompt or indicator light for recording. The 'Menu Confirmation' button enters the state to be modified. Click the 'Up' or 'Down' button to select, and there are two options: on and off. After selecting, click the 'Menu Confirm' button to confirm.
Motion detection: After activation, in standby mode, when there is an object moving in front of the lens, the recording will automatically start. If no object movement is detected within 1 minute, the recording will stop and the machine will enter motion detection standby mode. If a moving object continues to be detected, the recording will continue. The motion detection video will be saved as a 1-minute file until there is no object movement within 1 minute, and then the recording will be turned off again. During the recording process, you can briefly press the 'Record' button at any time to pause the recording. At the same time, the recording will be automatically saved and returned to the recording standby page. To restart motion detection, you need to enter the menu page and select 'Enable Motion Detection' again.
·Time marker: Press the [Menu Confirm] button to enter the state to be modified, press the [Up] or [Down] button to select, and the options are: Off or On. After selecting, click the 'Menu Confirm' button to confirm.
·Volume adjustment: Press the 'Menu Confirmation' button to enter the state to be modified, press the 'Up' or 'Down' button to select, and there are options available for 1, 2, 3, 4, 5, 6, 7, and 8 minutes. After selecting, press the 'Menu Confirmation' button to confirm.
·Button sound: Press the [Menu Confirm] button to enter the state to be modified, press the [Up] or [Down] button to select, and the options are: Off or On. After selecting, click the 'Menu Confirm' button to confirm.
·Date/Time: Click the [Menu Confirm] button to modify the status, click the [Up] or [Down] button to change the specific content, and after entering, click the [Menu Confirm] button to confirm.
Automatic shutdown: Press the [Menu Confirm] button to enter the state to be modified, press the [Up] or [Down] button to select, choose options related to, 5, 10 minutes, etc. After selecting, press the [Menu Confirm] button to confirm.
·Language: Click the 'Menu Confirmation' button to enter the state to be modified, and click the 'Up' or 'Down' button to change options such as Simplified Chinese, Traditional Chinese, English, etc. After completion, click the 'Menu Confirm' button to confirm.
·Light source frequency: Press the [Menu Confirm] button to enter the state to be modified, press the [Up] or [Down] button to select, there are options such as 50Hz, 60Hz, etc. After selecting, press the [Menu Confirm] button to confirm.
Screen saver: After being turned on, the screen will automatically turn off within the set time. You can press any button to turn it back on. Click the [Menu Confirm] button to enter the state to be modified. Click the [Up] or [Down] button to select. The options are related. Select after 1, 3, and 5 minutes. After selecting, click the [Menu Confirm] button to confirm.
·Format SD card: Click the [Menu Confirm] button to enter the state to be modified. Click the [Up] button or the [Down] button to select the 'Confirm' or 'Cancel' options. After selecting, click the [Menu Confirm] button to confirm.
·Restore factory settings: Press the 'Menu Confirm' button to enter the state to be modified. Press the 'Up' or 'Down' button to select either 'Confirm' or 'Cancel' options. After selecting, press the 'Menu Confirm' button to confirm.
View playback:
a. In standby mode, press the up key briefly to enter the playback menu, and use the up or down key to select the selected option,
b. Click the 'Menu Confirm' button to enter the playback list, and use the 'Up' or 'Down' keys to select the file that needs to be played;
C. During the playback process, press the 'Menu Confirm' button to pause or play, and press the 'Return' button to return to the previous menu;
Reset and restart: When the device crashes or stops responding due to improper operation or other special reasons, you can use a pen tip, toothpick, or similar object to press the [Reset] button (be careful not to apply excessive force) to reset it. After pressing the reset button, the device will automatically shut down. At this time, restarting will restore the previous settings.
Device charging: When the low battery box pops up on the display screen and the battery icon in the lower right corner turns red, the machine will automatically shut down after 5 seconds. During charging, the battery icon will appear on the display screen. After fully charged, the battery icon will remain fixed.
Charging while recording: When the machine is turned on and connected to the power supply, it can function normally. If it is turned off and connected to the power supply, it needs to be manually turned on. After turning on, all functions can be used. The machine can use any function while charging, and it will still maintain its current working state after power failure.
Yksityiskohdat
Resoluutio:
1080p
Varastointi:
Kiintolevy
Yhteensopiva toimintakameramerkki:
Muut
Tehokas megapikseliä:
Noin 12 Mp
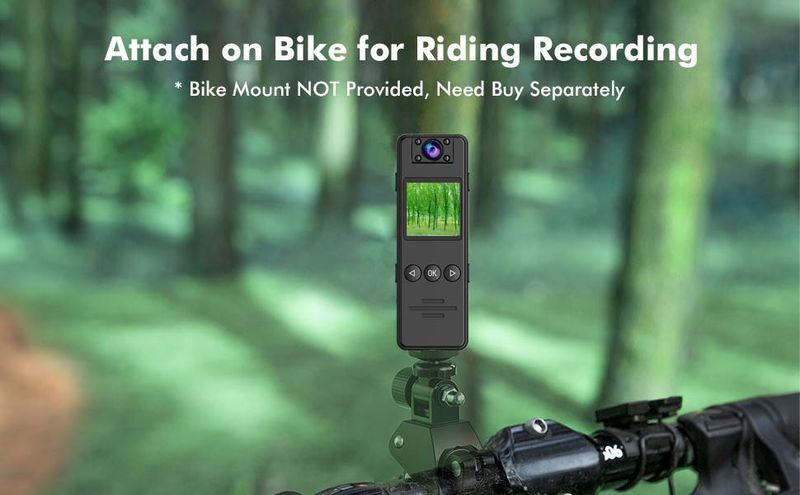
Sovellettava toiminta:
Pyöräily, hiihto, vlogi
 4.0 viidestä 4,274 arvostelun perusteella